Relica 2 is a powerful subtractive synthesizer designed to create retro chiptune sounds. This guide will guide you through all of it’s parameters and how to use them in order to create that iconic 8-bit sound.
Preset Browser

The Preset Browser allows you to browse through the factory presets by using the left and right arrows, or by clicking on the combobox in the middle to see the preset list. You can also use the save and load buttons to create your own presets.
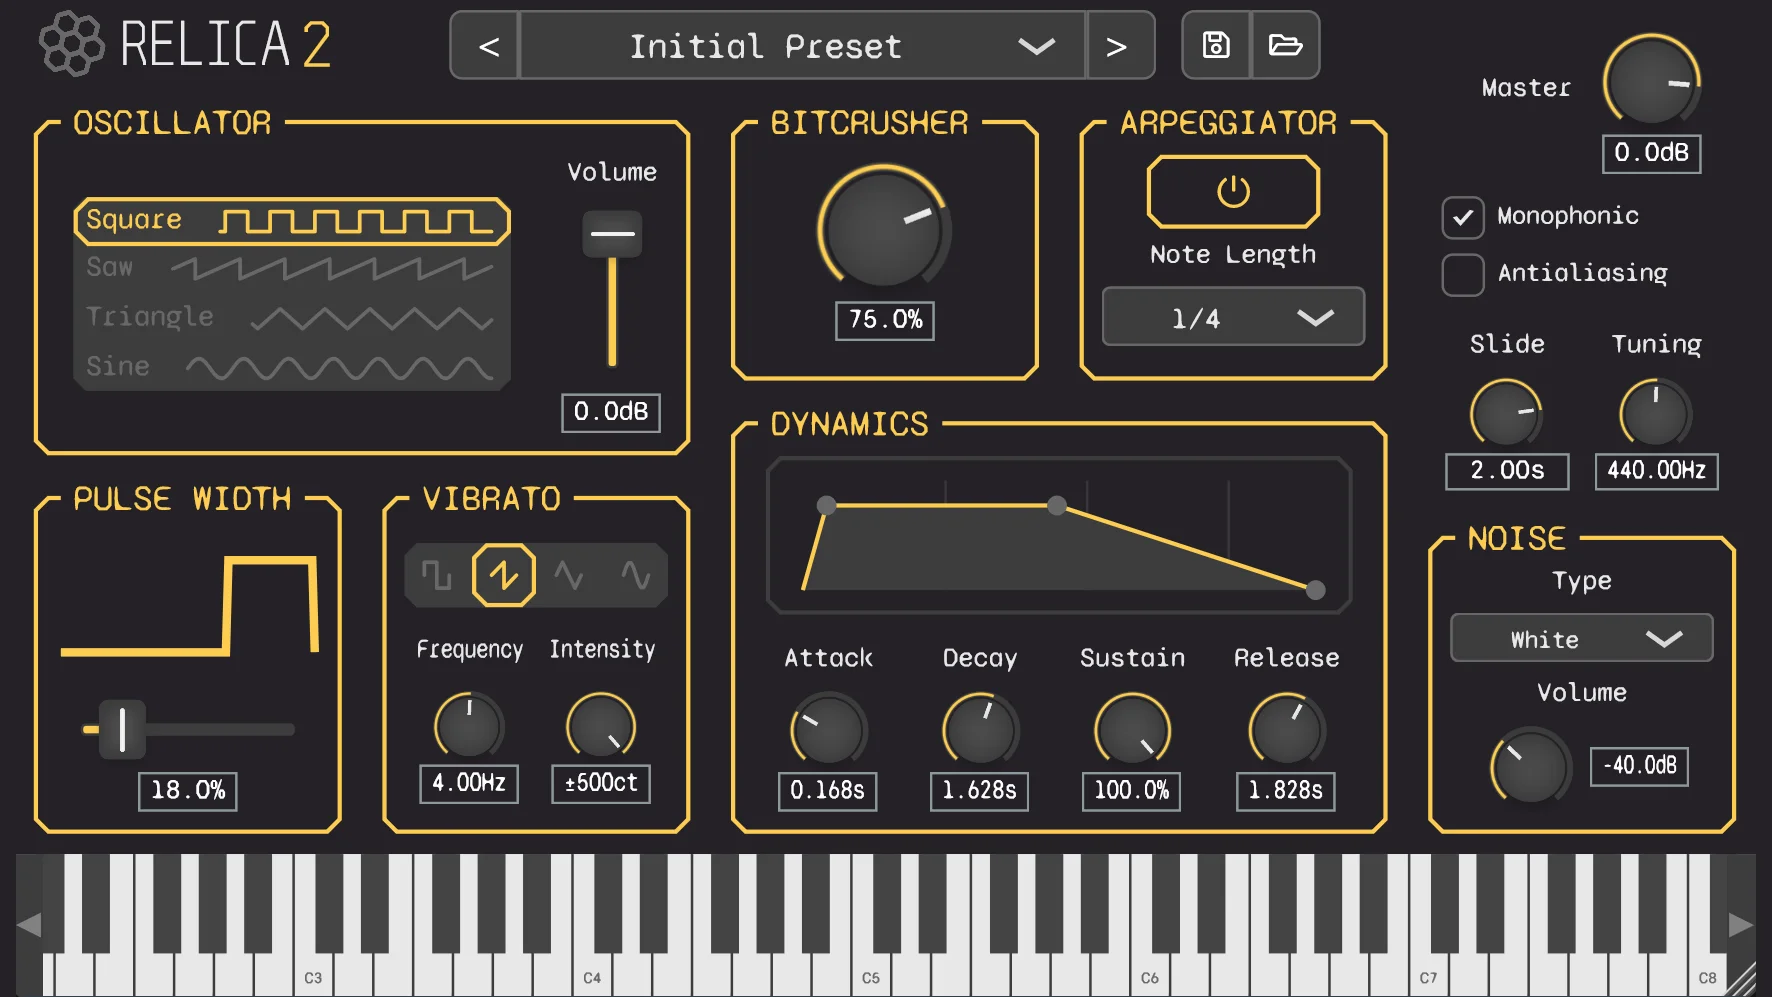
Oscillator Shapes
The Oscillator Shape section allows you to choose the sound wave that generates your sound. Each shape has a unique timbre:
- Square: Makes a buzzy, hollow sound. Perfect for retro and video game music.
- Sawtooth: Produces a bright, full sound. Great for melodies and bass lines.
- Triangle: Creates a smooth, soft sound. Ideal for gentle tones.
- Sine: Offers a pure, clean sound. Best for soft basses and smooth pads.
To select a waveform, simply click on the desired shape from the list.
You can then use the Volume knob to set the output level for this oscillator.
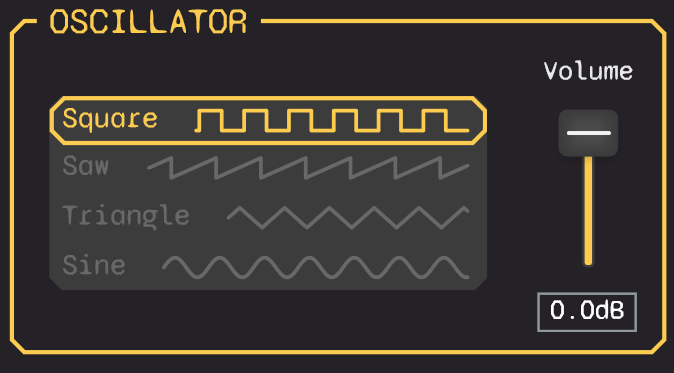
Dynamics
This section shapes the volume of the sound over time, using four stages:
- Attack: Time for the sound to reach full volume after a key press. A short attack gives a sharp, instant sound, while a long attack fades in.
- Decay: Time taken by the sound to drop to the sustain level after the attack phase.
- Sustain: The level at which the sound holds while the key is pressed. It’s a percentage of the maximum volume.
- Release: Time for the sound to fade out after the key is released.
Bitcrusher
The bitcrusher effect reduces the bit depth and sample rate of your audio signal, giving it a gritty, lo-fi character.
The knob adjust the intensity of the effect. Higher values produce more distortion and aliasing, creating a vintage digital sound.
Pulse Width

The knob modifies the balance between the “on” and “off” parts of a wave cycle. By adjusting this knob, you can change the tone, making it sharper or softer. Experiment with different settings to find the perfect character for your sound.
Vibrato
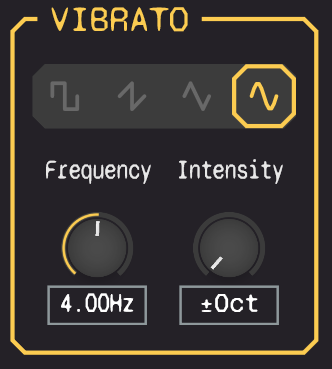
Vibrato adds a slight pitch variation to your sound, creating a wobbling effect. This feature can be applied to any waveform. You can control:
- Rate: How fast the pitch oscillates. A higher rate results in a faster wobble.
- Depth: How much the pitch changes. A greater depth makes the wobble more noticeable.
- LFO Shape: The pattern of the pitch change. Different shapes create different types of wobbles, from smooth and flowing to sharp and choppy.
Using these controls, you can give your sound a subtle movement or a more dramatic, wavy effect.
Arpeggiator
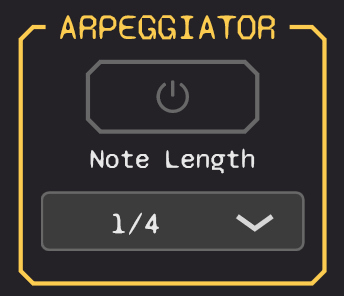
The arpeggiator transforms chords into a sequence of individual notes, very used for chiptune melodies. It features two main controls:
- On/Off: Enables or disables the arpeggiator.
- Note Length: Determines the speed of the sequence. Synced to your track’s tempo.
Noise
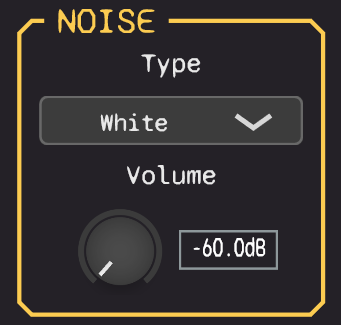
The Noise block allows you to add noise when your oscillator is playing.
- Type: Lets you choose between White, Pink and Periodic noise.
- Volume: The gain of the noise.
Other

Relica 2 provides several utility controls to fine-tune your sound:
- Master: Adjusts the output level of the plugin.
- Antialiasing: Enable it for a smoother sound, or leave it disabled for a raw retro sound.
- Monophonic: When checked, the synth will only play one note at a time.
- Slide: If monophonic is enabled, controls the portamento (the time it takes for the pitch to glide from one note to the next).
- Tuning: Allows you to fine-tune the entire instrument’s pitch to match your track.
That’s it!
You now have all the tools necessary to create your own chiptune soundtracks! If you haven’t already, you can download Relica 2 for free here!